Configuration Menu
The Configuration menu contains a number of dialogues for the configuration of GNSS Compass.
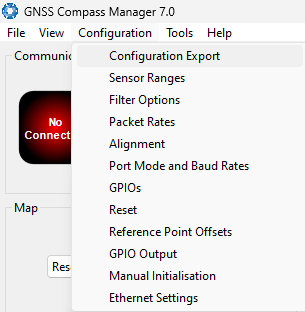
Manager Configuration Menu
Configuration Export
The Configuration Export dialogue can be used to export all the GNSS Compass settings to a file. This file can be imported at a later date or on other units. This is useful to restore a unit to a pre set configuration at a later date or for batch configuration of multiple units.

Manager Configuration Export Dialogue
Sensor Ranges
The Sensor Ranges dialogue is used to set the dynamic range of the sensors. If the user is experiencing over-range events during operation, these settings should be used to increase the range of the sensor which is reporting the over-range. The lowest ranges give the best performance, the user should make changes slowly and monitor the results.
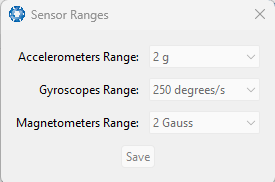
Manager Sensor Ranges Dialogue
Filter Options
For most applications the default filter options should be used and only the vehicle profile set. If in doubt please contact support@advancednavigation.com.
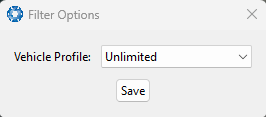
Manager Filter Options
Packet Rates
The Packet Rates dialogue allows the user to specify which packets output on a periodic basis and at what rate. The default packets enabled are the System State Packet (ID 20) and the Raw Sensors Packet (ID 28) at 20Hz and these typically provide all the data that a user will require. These two packets need to be enabled for the data graphs to update in GNSS Compass Manager. Other state packets can be enabled as required.
Note: Packet rate configuration applies only to the data port which the Manager is connected to. To configure other ports, the Manager must be connected to that port.
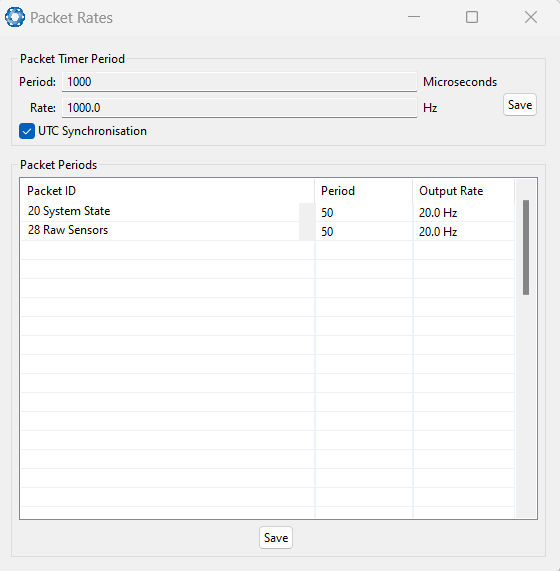
Manager Packet rates
Alignment
The Alignment dialogue is used to set the alignment offsets of the system installation. It is important to set the values in this dialogue correctly for accurate results.
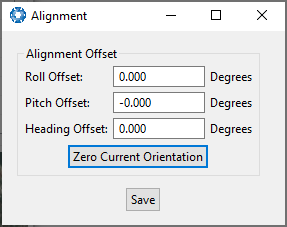
Manager Alignment Dialogue
Alignment Offset
If GNSS Compass is installed into the vehicle with the positive X-axis pointing forwards and the positive Z-axis pointing down, then no alignment offset is required and the roll, pitch and heading offset values can remain at the factory defaults of zero.
If the unit is installed in a different orientation then the roll, pitch and heading offset must be entered. For example if the unit is installed on its side with the X-axis pointing up and the Z-axis pointing forwards and no change to the Y-axis, then this would result in a pitch offset of +90 degrees with roll and heading remaining zero.
If there is a small misalignment due to mechanical mounting error this can be compensated for by setting the vehicle stationary on a level surface and pressing the Zero Current Orientation button.
Note: Zero Current Orientation will only correct for roll and pitch offsets, the Heading offset must be entered manually and saved before using this function.
All the other offsets will be measured in the realigned body co-ordinate frame (X positive forward, Z positive down) after being corrected for any alignment offset entered.
Port Mode and Baud Rates
Some machines running Microsoft Windows do not support higher baud rates. When changing baud rates, it is recommended to test the baud rate configuration first, without ticking the Permanent box. This way, if it is not possible to communicate at the higher baud rate, a power cycle can be used to revert to the previous baud rate setting.
The factory default baud rate value for these ports is 115200 bps.
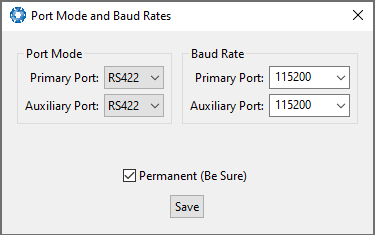
Manager Baud Rates Dialogue
GPIO
This page allows the user to configure the input and output functions of the Auxiliary ports. These functions change dynamically and are effective immediately upon clicking Save Changes.
The default values for these settings are Inactive.
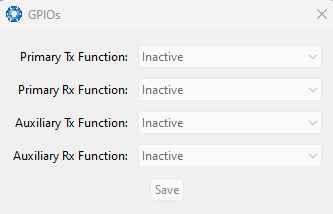
Manager GPIO configuration Dialogue
Reset
The Reset button causes the system to perform a power cycle. No configuration settings or state data are lost. The Cold Start button clears all filters, and connections are reset and must re-established. No configuration settings are lost. The Factory Restore button resets all GNSS Compass settings back to their factory defaults, including state data and all configuration settings. It also erases the hot start data so that the system is forced to perform a cold start.
Note: A Factory Restore will re-enable the DHCP Client and lose any static IP address settings.
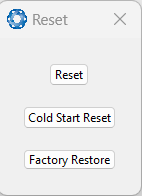
Manager Reset Dialogue
Reference Position Offsets
The Reference Point Offsets dialogue allows the user to set measurement points away from its default position at the physical centre of the GNSS Compass unit. The primary reference point offset applies to data from all ANPP packets as well as all peripheral output such as NMEA messages and Heave Point 1.
When the values are zero the measurement point is the centre of the GNSS Compass unit. This can be offset to a different position on the profile by entering the offset value from the centre of the GNSS Compass unit to the desired position in the body co-ordinate frame (X positive forwards, Z positive down).
Note: These values only apply to the Heave Packet. NMEA, TSS and Simrad heave is not affected by the values in this dialogue which are always measured at the centre of the GNSS Compass unit.
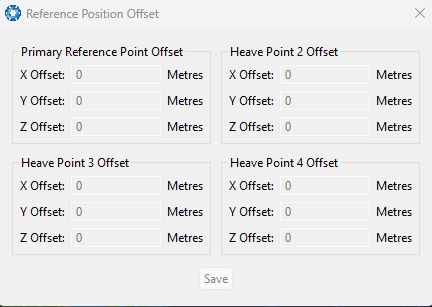
Manager Reference Position Offset
GPIO Output
The GPIO output configuration dialogue allows the user to configure the NMEA0183, TSS1 and SIMRAD output rates for the Auxiliary port. These output rates will be observed with respect to the actual output selected in the GPIO port configuration.
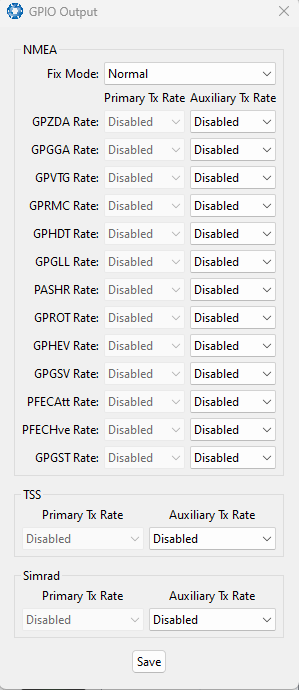
Manager GPIO Output Dialogue
Manual Initialisation
The Manual Initialisation dialogue can be used to manually initialise GNSS Compass when a GNSS fix is not available. Setting the position will initialise the navigation filter. Setting the heading will also initialise the heading filter.
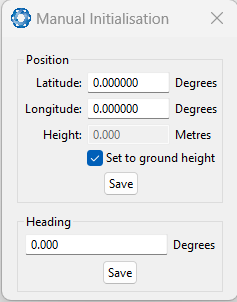
Manual Initialisation Dialogue
Ethernet Settings
The Ethernet Settings dialogue allows the user to enable or disable the DHCP Client. When the DHCP Client is disabled you need to enter the TCP/IP settings if the user wishes to access the web UI. If the user is connecting to GNSS Compassvia the primary port these settings can be ignored. The default is for the Ethernet mode to be set to DHCP.
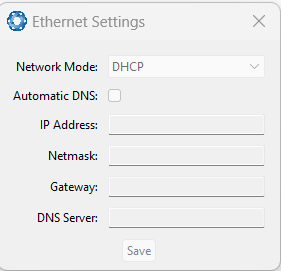
Manager Ethernet Settings Dialogue