Mission Management
The Hydrus web UI provides comprehensive mission management capabilities, This overview will cover three key aspects of mission management within the Hydrus web UI:
Creating New Missions
Creating new missions in the Hydrus web UI is a straightforward process that allows users to plan and customise their Hydrus missions. Users can define waypoints, set mission parameters, and tailor mission details to meet their specific needs. See Mission Planning Process for more information.
Editing Existing Missions
Editing a mission in the Hydrus web UI allows users to make adjustments to a pre-planned mission, whether it's to change waypoints, or adjust other parameters. For example where the user may need to adjust the line heading for the current or altitude.
Importing and Exporting Missions
The Hydrus web UI also supports importing and exporting missions, providing flexibility in managing the users mission data. This functionality is particularly useful for sharing missions with other users, reusing previously run missions, or accessing pre-defined mission catalogues created by mission specialists.
Import Procedure
-
Open the Hydrus web UI.
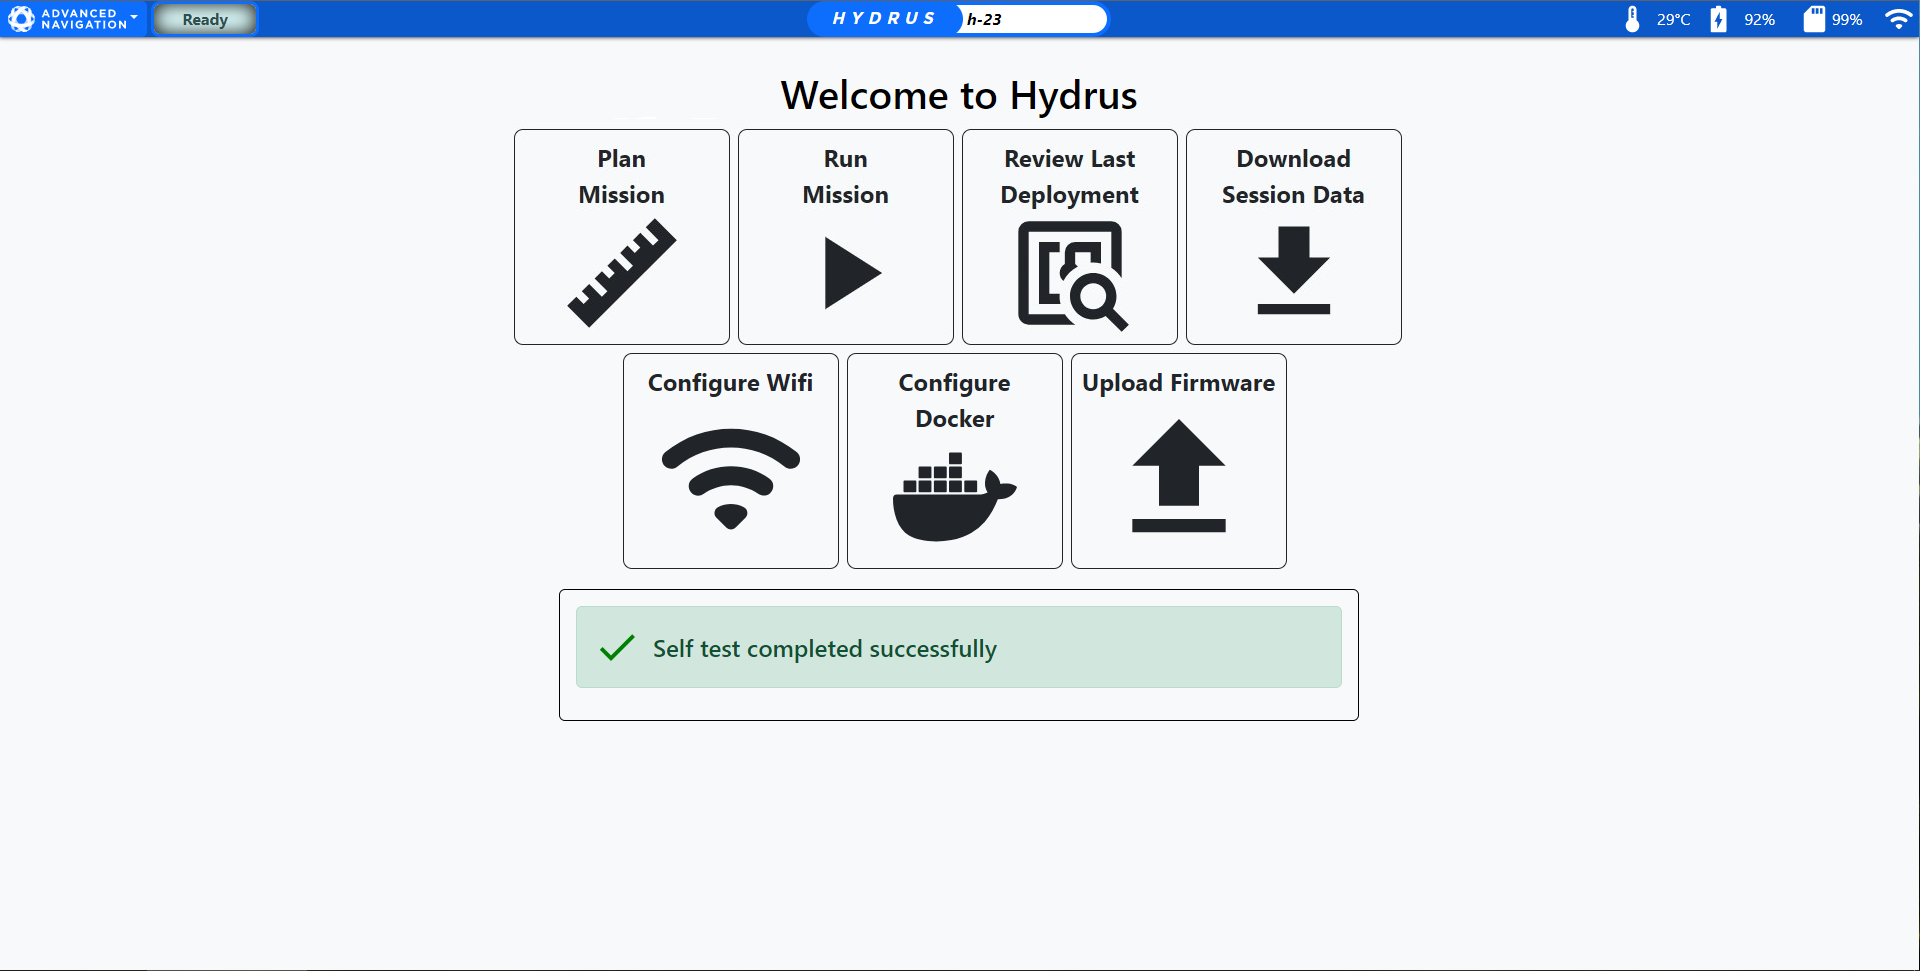
Hydrus Web UI Main Page
2. Click "Plan Mission", this will take the user to the Mission Planner.

Plan Mission
3. In the Mission Planner Welcome dialogue, click "Import Mission".
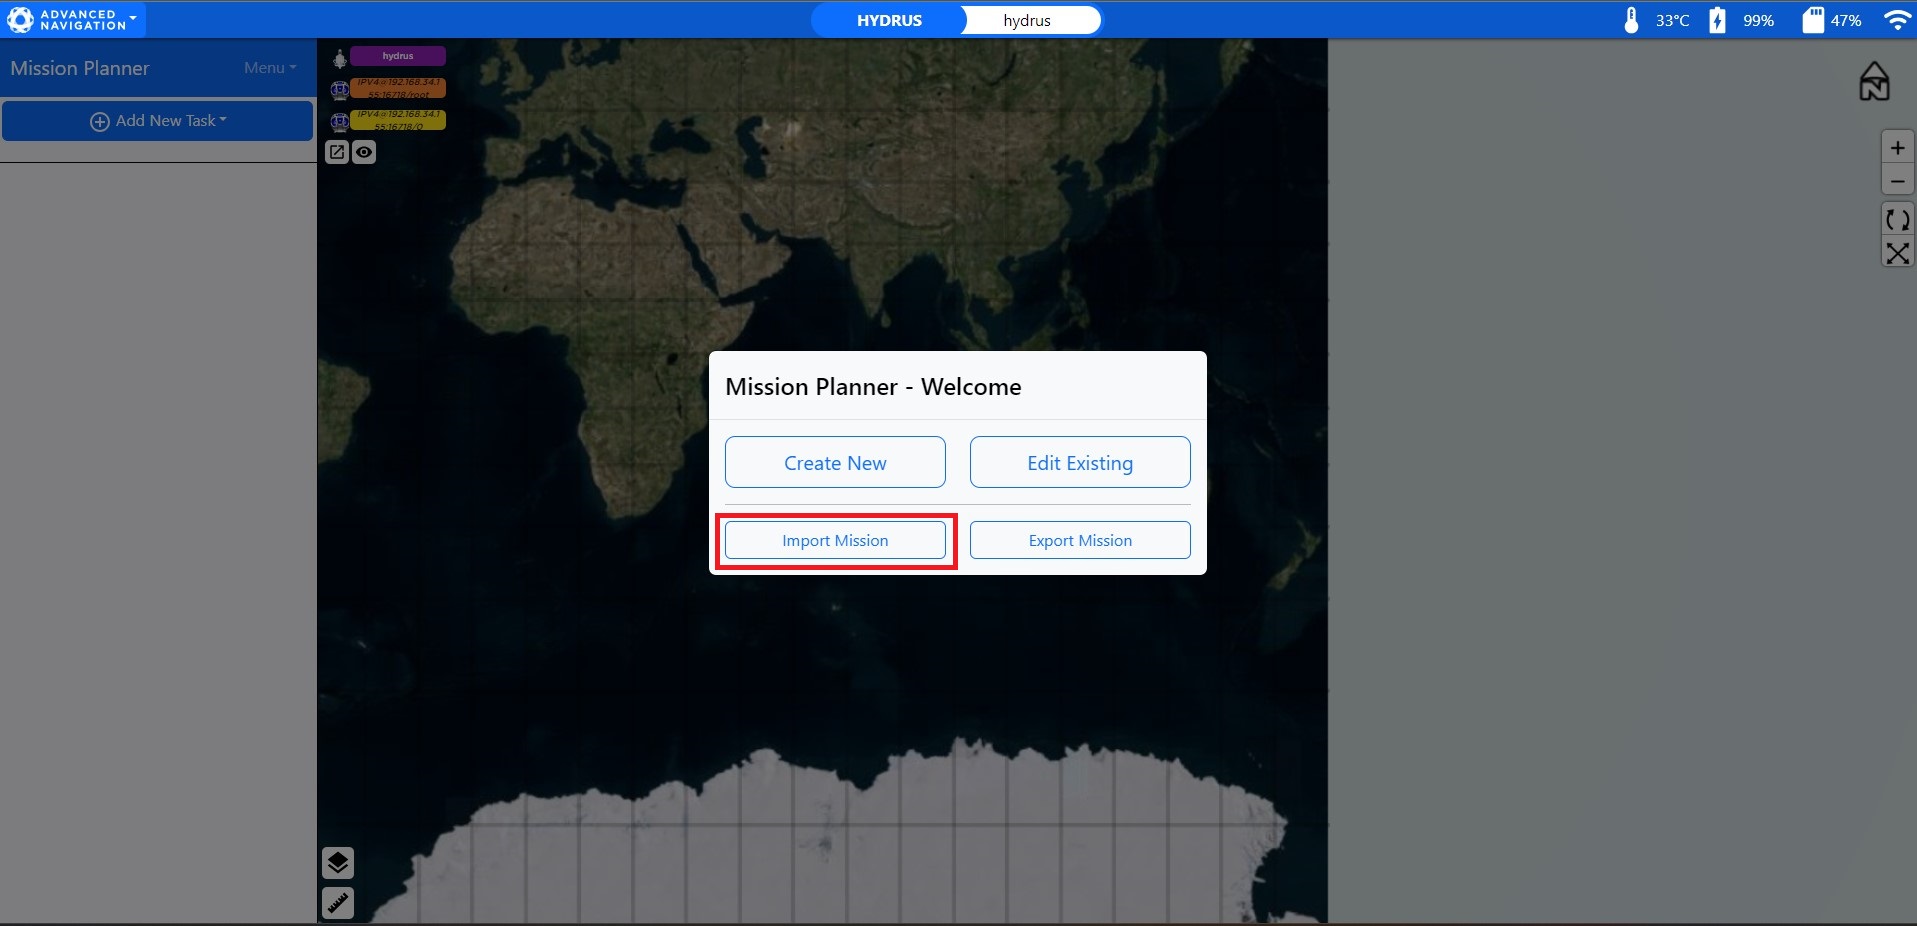
Welcome Planner Import Mission
4. The local drive dialogue box will appear for the user to pick which mission they would like to import, select the mission.
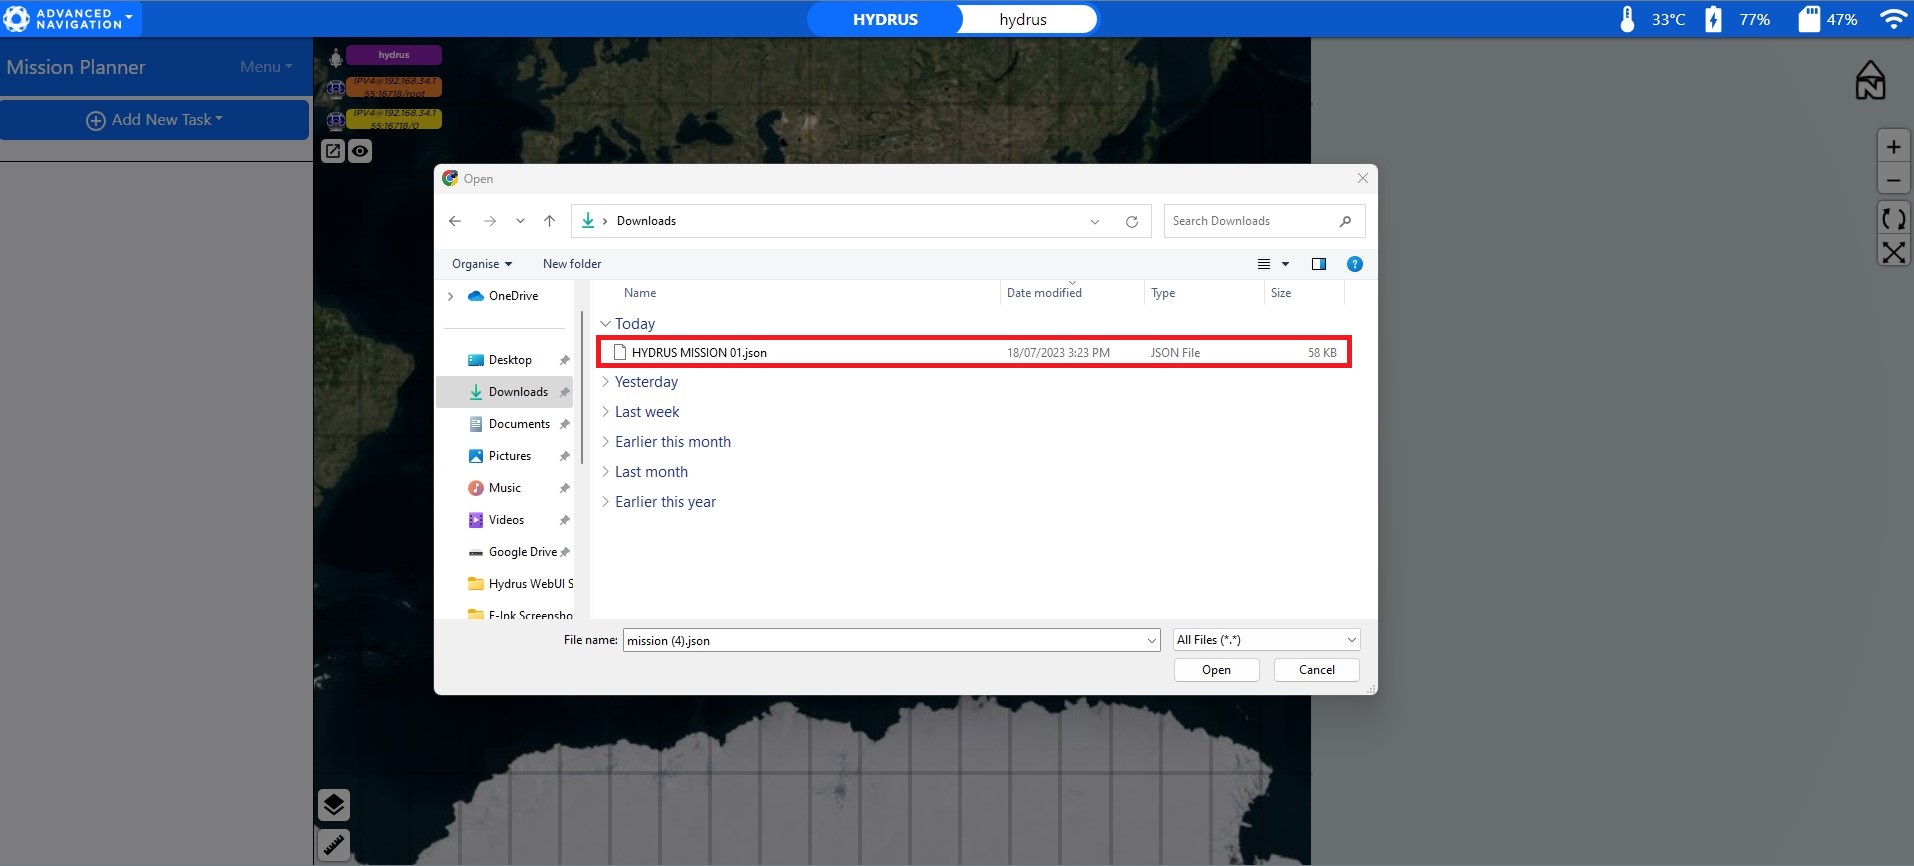
Hydrus Import Mission Local Drive
Note: Ensure the correct file type is selected when importing mission from the local drive being a (.json) file only.
5. Once the mission is selected the user will see the mission appear on the view screen it is recommended if there is any adjustments made to the mission parameters that the user conducts a 'save as' to save the mission with the changes.
Export Procedure
-
Open the Hydrus web UI.

Hydrus Web UI Main Page
-
Click "Plan Mission", this will take you to the Mission Planner.

Plan Mission
-
In the Mission Planner Welcome dialogue, click "Export Mission".
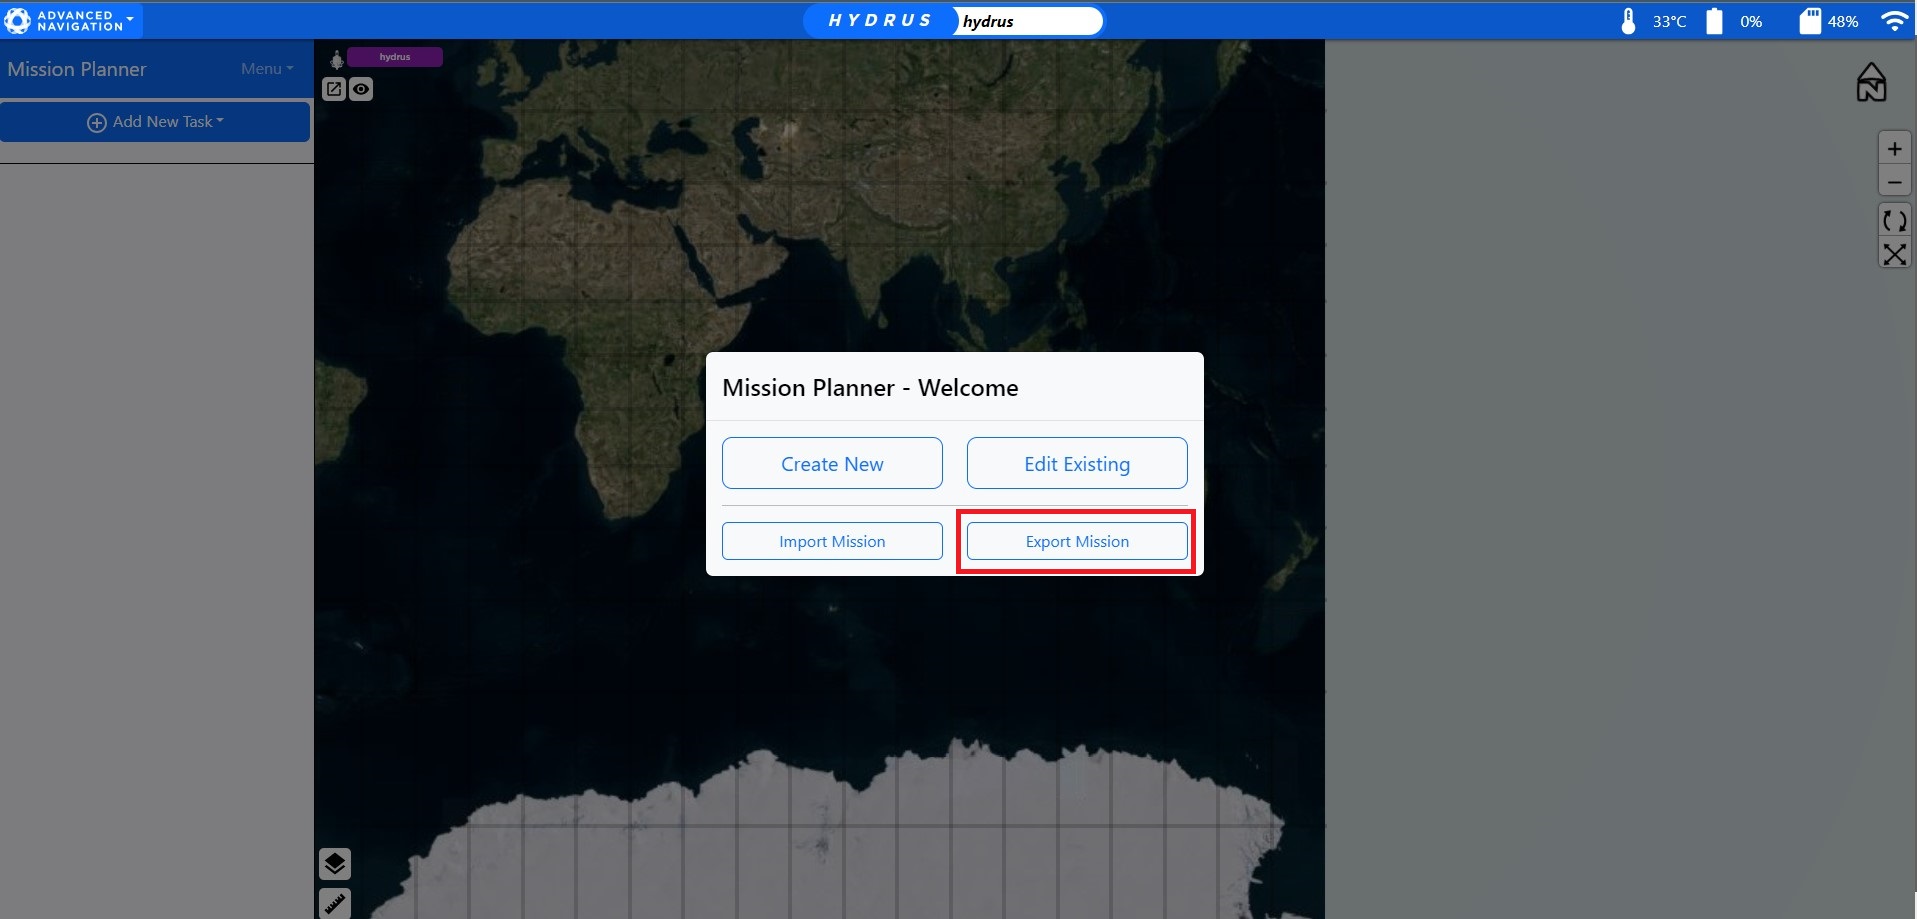
Mission Planner Welcome
-
The sessions dialogue box will appear for the user to pick which mission they would like to export, select the mission.
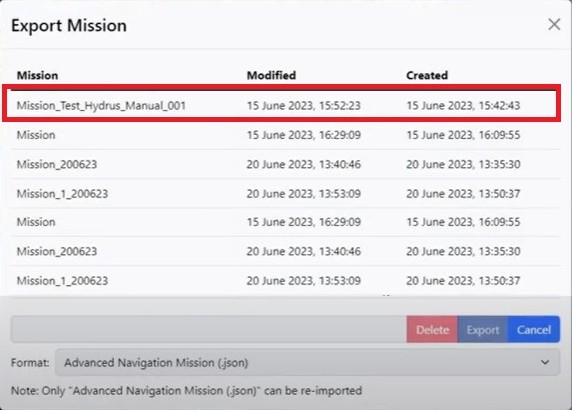
Session Dialog Box
-
Click "Export" in the session dialogue, the mission file will then be downloaded to the user's local drive.
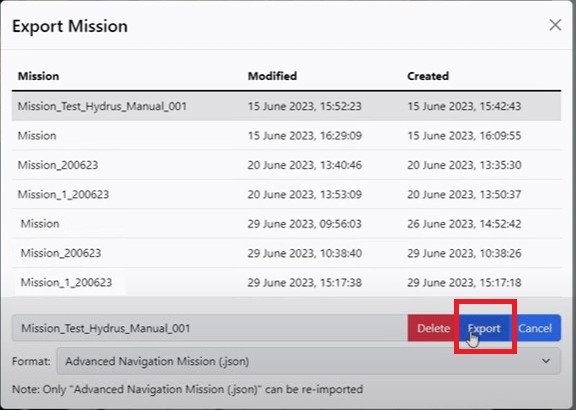
Export and Download Mission