Routine Inspection and Cleaning
Routine inspection and cleaning are essential for maintaining optimal performance and prolonging the lifespan of equipment. This section provides an inspection and cleaning plan with a schedule for daily and monthly tasks. Adhering to this plan will ensure the equipment remains in good condition and minimizes the risk of breakdowns or malfunctions.
| Task | Action | Hydrus Component | Additional Notes |
|---|---|---|---|
| Daily |
Inspect
|
Camera |
Camera lens to be checked for smudges, scratches, fogging on inside |
| Inspect | DVL Transducers | Carefully examine each transducer dot to ensure there are no visible cracks, chips, or signs of physical damage. | |
| Inspect | LED lights | Look for any signs of physical damage, such as cracks, broken housings or clear lens material. | |
|
Inspect Clean |
Thrusters/Impellers |
Begin by visually examining the thruster and impeller bolts. Look for any visible signs of damage, such as stripped threads, cracks, or deformation. Inspect the plastic housing surrounding the thruster and impeller bolts. Look for any cracks, splits, or indications of stress. Spin the thrusters checking for debris and grit, ensure impeller spins with ease of motion. Clean as per the guidance provided below and conduct a Rinse cycle through the Hydrus web UI. |
|
| Inspect | EPD Control Panel | Inspect the panel for any physical damage, such as cracks or scratches. | |
| Inspect | Acoustic Transponder | Look for any visible signs of physical damage, such as cracks, dents. | |
| Inspect | Hydrus Desk Charger |
Inspect the charger for any visible signs of physical damage, such as cracks, dents, or loose components. Verify that the desk charger is properly connected to a power source and that the power supply is functioning correctly. Check the power cable, plug, and any other connections to ensure they are secure and undamaged. If the charger or Hydrus becomes excessively hot, it may indicate a malfunction or compatibility issue. Check battery levels and charging status. Ensure the EPD screen is aligned with the Advanced Navigation logo when placed in the charger. |
|
| Inspect | Hydrus Main Body | Check the main body for damage, abrasions and cracks. | |
| Clean | Hydrus Main Body | Clean any debris or fouling from the external surfaces. | |
| Functional Test | Conduct a self test. | ||
| Monthly | Inspect | Verify the tightness of fasteners and bolts, ensuring they are properly secured. | |
| Clean | Clean Hydrus as per cleaning instructions, and conduct a Rinse cycle through the web UI. | ||
| Functional Test | Conduct a functional test of the Hydrus systems and sensors. |
Note: Note: The frequency and specific tasks mentioned above are examples and may vary depending on the Hydrus model and manufacturer's recommendations. Adjust the plan to suit the specific requirements and guidelines provided by Advanced Navigation.
Cleaning
Fresh Water Hose Cleaning (5-10 minutes):
-
Spray fresh water over the entire surface of the vehicle, paying special attention to the pressure sensor vent hole and thrusters.
-
Ensure the water pressure is moderate to avoid damaging sensitive components.
-
Continue spraying for 5-10 minutes to thoroughly rinse off any dirt or debris.
Fresh Water Soak (30 minutes):
-
Fill a container or tank with fresh water.
-
Submerge Hydrus in the water, ensuring that all components are covered.
-
Allow Hydrus to soak for 30 minutes to remove any stubborn contaminants.
-
During the soak, gently agitate the water around Hydrus to help dislodge any dirt or grime.
Avoid Chemicals and Compressed Air:
-
Do not use any chemicals or solvents to clean Hydrus, as they can damage sensitive components.
-
Avoid the use of compressed air to clean thrusters or any other part of the vehicle, as it can introduce moisture or debris.
Non-Abrasive Material:
-
When wiping Hydrus, use only non-abrasive materials such as soft microfiber cloths or sponges.
-
Avoid rough or abrasive materials that can scratch or damage the vehicle's surface.
Thruster Specific Cleaning
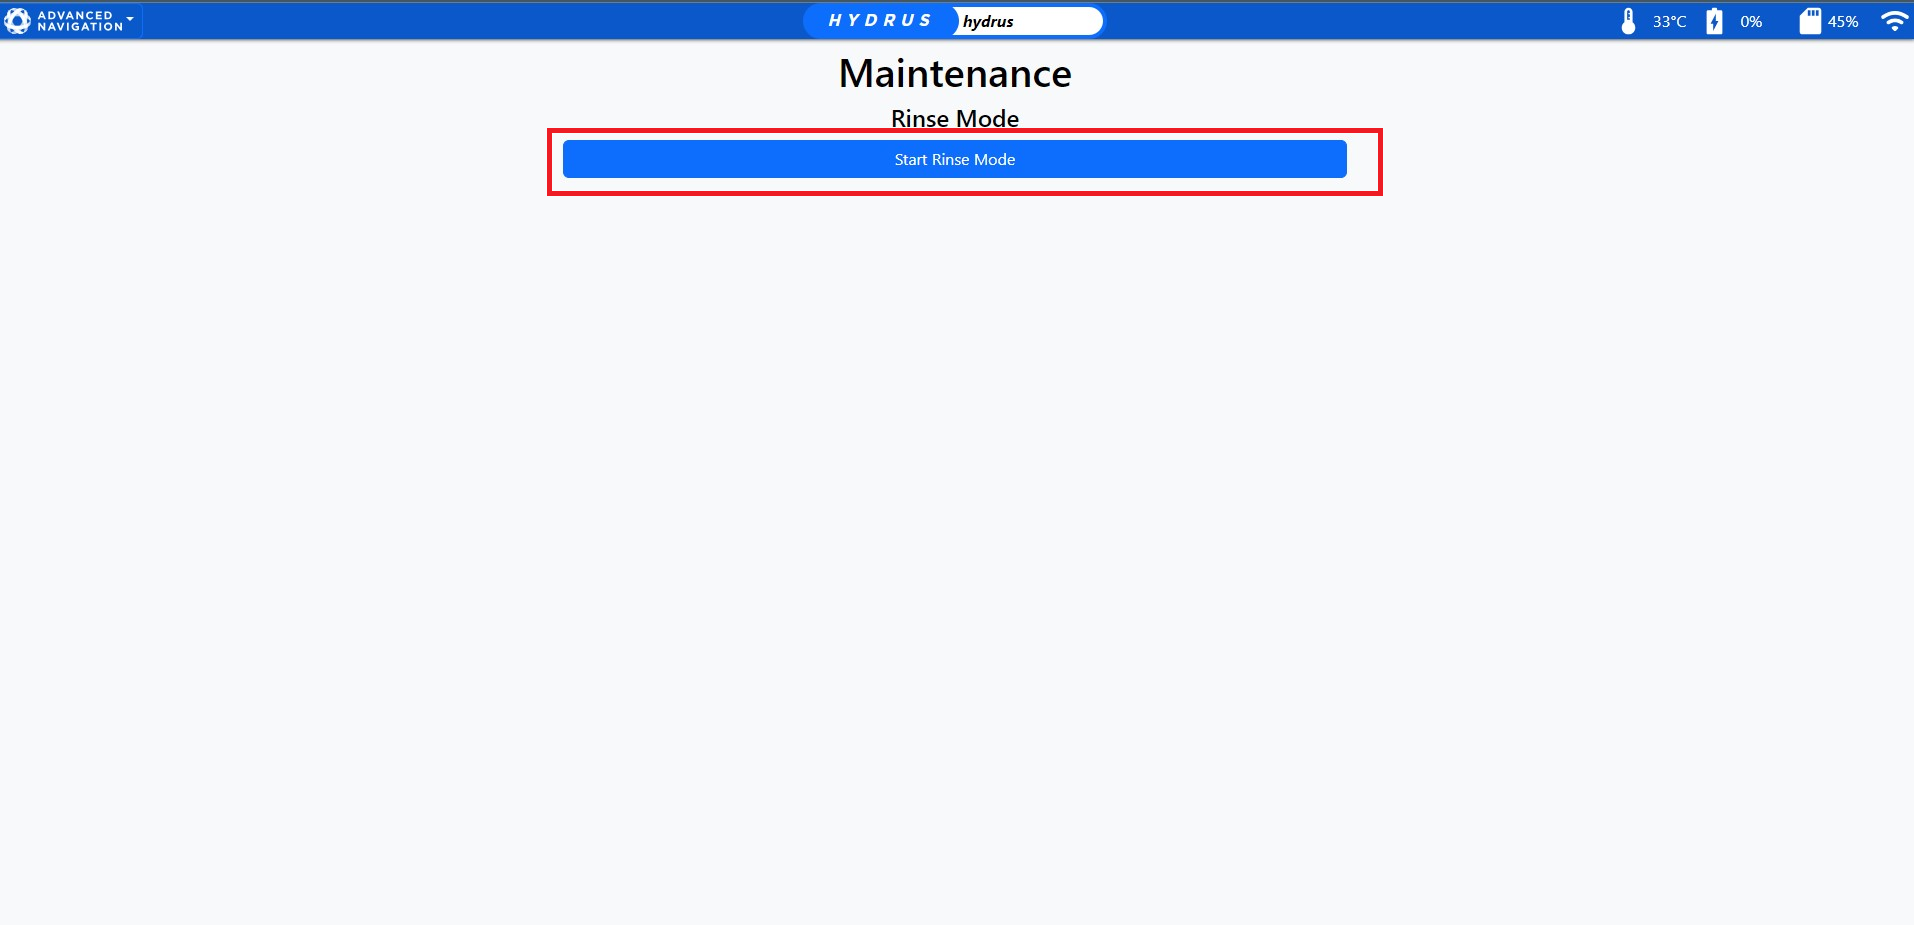
Rinse Mode -The Rinse Mode function serves a critical role in the maintenance of Hydrus. This mode allows for the manual operation of its thrusters outside of mission parameters, specifically for cleaning purposes. Operating at a slow RPM setting of approximately 200 RPM, Rinse Mode enables the effective removal of any debris or biofouling that may have accumulated post-mission. This process necessitates the manual rotation of the thrusters, ensuring a comprehensive cleaning. This function can be used in two primary scenarios: to remove excess water and to hose down Hydrus with fresh water, both of which contribute to the optimal performance and longevity of Hydrus.
-
Preparation: Ensure that Hydrus is in a High Power
-
Navigating to Rinse Mode: From the main screen of the web UI, go to the "Advanced Navigation" dropdown menu. From there, choose "Tools", then "Maintenance", and finally "Rinse Mode".

Start Rinse Mode
-
Understanding Rinse Mode: Upon selecting "Rinse Mode", a dialog box will appear with the following message: "This will make Hydrus slowly spin its thrusters for 60 seconds. Are you sure you want to start Rinse Mode?" The options available will be "Cancel" or "Start Rinse Mode".

Rinse Mode Duration
-
Preparation for Rinse Mode: Before the user initiates Rinse Mode, ensure that Hydrus is properly positioned.s
-
Initiating Rinse Mode:The user should press "Start Rinse Mode" on the web UI. The thrusters will then begin to spin at approximately 200 RPM for 60 seconds. This function can be used to remove excess water from the thrusters or can be used while hosing Hydrus.
Note: If the Rinse function need to be stopped over the duration, the user can click 'Stop Rinse Mode' at anytime to immediately stop the thrusters.

Stop Rinse Mode
-
Observation and Repeat:The user should observe for any signs of debris or biofouling being expelled from the thrusters. If necessary, repeat the Rinse Mode operation until the user is satisfied that the thrusters are clean and free of debris.
-
Completion: Once the thrusters are clean, the user should ensure that Hydrus is dry.
-
Impeller Maintenance:For detailed instructions on Impeller maintenance, refer to Impeller Maintenance